


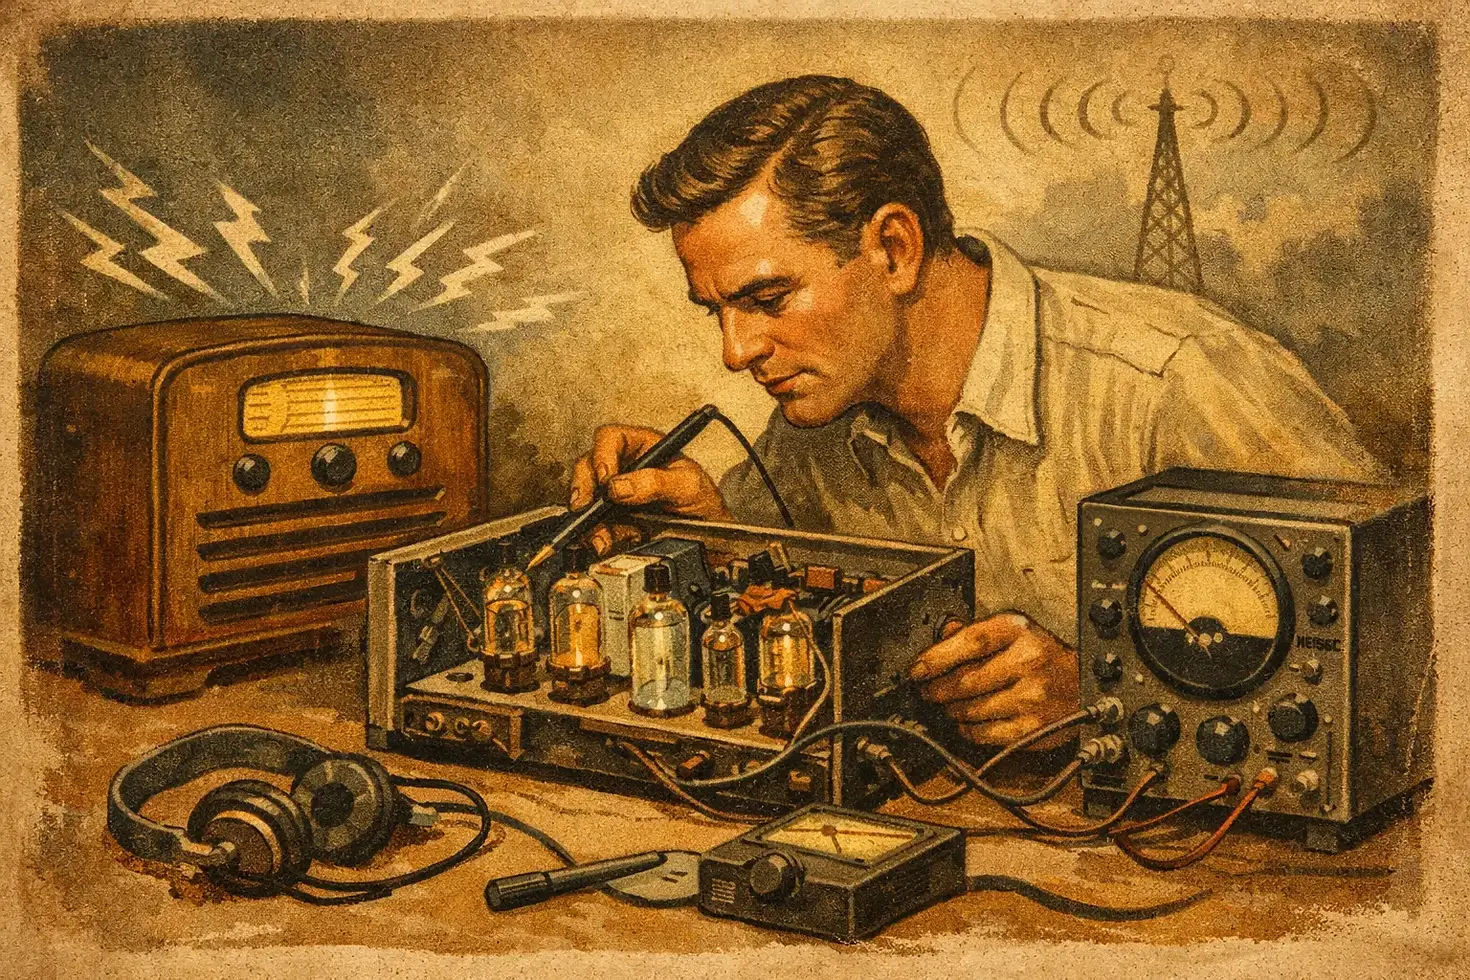
How to Diagnose Radio Static in Vintage Sets

A radio that plays a favorite station clearly one moment and fills the room with crackles the next is not simply “showing its age.” When learning how to diagnose radio static, the goal is to separate a problem in the broadcast signal from a fault inside the radio - without putting an irreplaceable cabinet, chassis, or yourself at risk. For a family console, a cathedral set, or a cherished tabletop radio, careful observation is often the most valuable first repair step.
Start by identifying the kind of static
“Static” can describe several very different sounds. A steady hiss across the dial is not diagnosed the same way as a sharp popping sound, a low buzzing hum, or interference that appears only on one station. Before moving the radio, changing controls, or removing its back, listen closely and make notes.
Does the noise occur everywhere on the dial, or only at a particular frequency? Does it change when the volume control is turned down? Is it present as soon as the radio warms up, or does it begin after fifteen or twenty minutes? These details help narrow the search considerably.
A weak, rushing hiss between stations may be normal on an AM set, especially in an area with poor reception. Loud crackling that comes and goes while the radio is tuned to a strong local station is more suggestive of an internal electrical issue. A harsh buzz that follows the rhythm of a dimmer switch, charger, fluorescent light, or appliance may be interference entering through the antenna rather than a failed radio component.
If a radio has just been brought home from an attic, barn, estate, or flea market, do not assume it is safe to plug in for a test. Old capacitors, deteriorated wiring, and prior repair work can create hazards well beyond a little static. A visual inspection with the set unplugged is the sensible place to begin.
Rule out noise from the room first
Vintage radios were designed in a much quieter electrical environment. Modern homes are full of potential noise sources: LED lamps, phone chargers, smart televisions, Wi-Fi equipment, switching power supplies, solar inverters, electric fences, and even a neighbor’s failing appliance. AM radios, in particular, can reveal interference that is otherwise invisible and unheard.
Try the radio in another room, preferably away from electronics and power strips. Turn off nearby lamps and chargers one at a time. If the static changes dramatically when a device is unplugged, the radio may be functioning properly but receiving electrical noise through the air or its power line.
For a portable radio with an internal loop antenna, rotate the cabinet slowly. AM reception and interference can change sharply as the antenna’s direction changes. If turning the radio reduces the noise or improves a weak station, antenna orientation is part of the answer. On a console or tabletop set with external antenna terminals, inspect the antenna lead for loose connections, frayed insulation, corrosion, or an improvised wire that has come free.
A strong station that becomes clean when the radio is moved to another location points toward environmental interference. Static that stays exactly the same in every room is more likely to be within the set itself.
How to diagnose radio static by control behavior
The radio’s controls can provide useful clues, but treat them gently. Old knobs, shafts, and dial mechanisms are easily damaged by force.
First, listen to what happens when you lower the volume. If the static falls with the volume, the trouble may be ahead of the volume control in the radio’s signal path, such as the tuner, antenna circuitry, or an early audio stage. If the noise remains loud even with the volume fully down, it may be in the power supply or output section.
Next, slowly turn the volume control back and forth. A scratchy sound that appears only while the control is moving often indicates oxidation or contamination in the control itself. That is a common issue, but it should not be treated as proof that the rest of the radio is healthy. A noisy control can coexist with weak tubes, aging capacitors, or poor solder connections.
The same test applies to tone controls, band switches, and function selectors. If a crackle appears when changing from broadcast to shortwave, phono, or another band, the switch contacts may need professional cleaning and evaluation. Spraying a household lubricant into a vintage radio is not a suitable repair. Some products leave residue, harm plastics, attract dust, or migrate into places where they do not belong.
If the static changes when you lightly tap the cabinet or move the chassis after it has been unplugged and cooled, make a note of that behavior. Intermittent noise can come from a loose tube pin, oxidized socket contact, failing resistor, fractured solder joint, or component that becomes unstable with heat. It takes measured testing to distinguish among them.
Look for visible warning signs with the power disconnected
Unplug the radio before opening the cabinet, and give it time to cool. Tubes and metal shields can remain hot long after the sound stops. More importantly, some capacitors can retain a dangerous electrical charge. Do not reach into the chassis or attempt to discharge components unless you are trained to work on high-voltage tube equipment.
A careful visual inspection can still reveal much without touching circuitry. Look for cracked or crumbling rubber wire insulation, scorched areas, wax capacitors that appear split or leaking, swollen electrolytic capacitors, loose tube shields, and evidence of overheating around a power transformer or resistor. A stale burnt odor, melted insulation, or darkened chassis area is a reason to stop testing and seek service.
Also inspect the power cord. Many original cords have become brittle, frayed, or unsafe. A cord that has been spliced with electrical tape, pinched by a cabinet, or hardened with age deserves attention before the radio is powered again. Preservation-minded restoration means addressing safety concerns while respecting the appearance and history of the piece.
Separate tube noise from power-supply noise
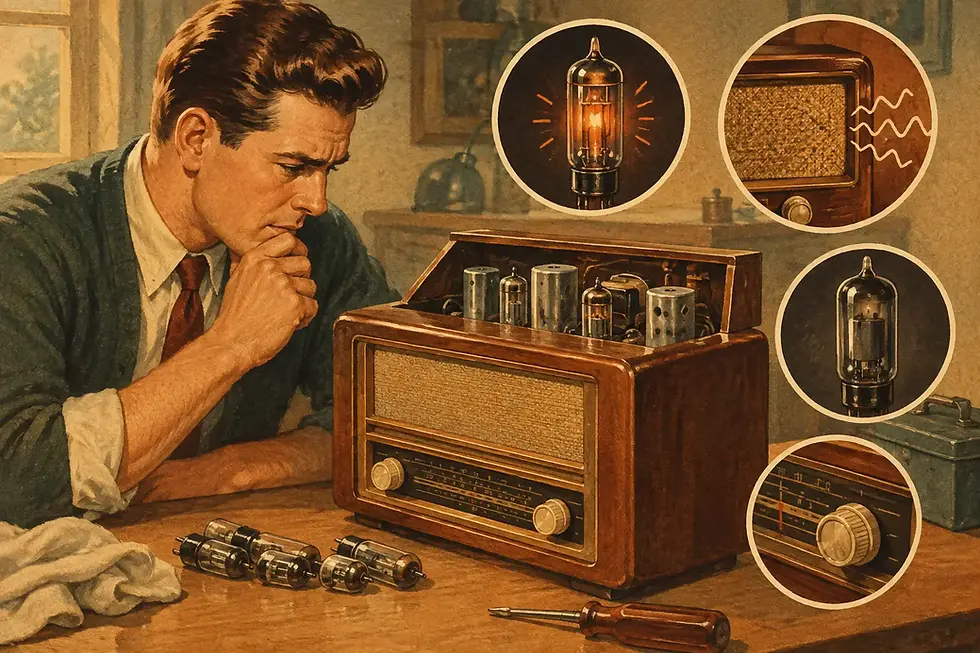
Tube radios often produce symptoms that seem similar but arise in different sections of the circuit. A soft, steady hum usually points toward filtering in the power supply, particularly aging electrolytic capacitors. Hum does not always sound like static, yet owners often describe it that way because it sits beneath every station and becomes more obvious in quiet passages.
Random frying, popping, or crashing sounds can be caused by a failing tube, but tubes are not the only suspects. Carbon-composition resistors may become noisy with age. Paper capacitors can leak electrically. Tube sockets and switches can oxidize. A deteriorating connection may react to temperature, causing a radio to behave well at startup and become noisy only after it has warmed.
A technician can use controlled tube substitution, voltage readings, signal tracing, and component testing to locate the source. That distinction matters. Replacing tubes at random can be expensive and may not cure the static. Replacing every old part without regard for the radio’s circuit, originality, and alignment can also compromise performance or historical integrity.
Pay attention to when the noise appears
Timing is one of the best clues an owner can provide. Static present immediately at turn-on may involve a switch, dirty contact, antenna connection, or a component that has already failed. Noise that begins after warm-up suggests heat-sensitive behavior. Static that vanishes after the radio has played for a while can indicate a connection that improves as metal expands, though that is not a repair in itself.
Write down the radio’s make and model, the bands affected, and the conditions under which the noise occurs. Note whether the dial lamps work, whether stations tune normally, whether the sound is weak or distorted, and whether the issue changes with volume. A short record of these observations gives a restoration specialist a meaningful head start and helps avoid unnecessary handling of a fragile chassis.
Know when not to keep testing
Stop using the radio if you smell burning, see smoke, hear loud snapping, notice excessive hum, or find that the power transformer becomes unusually hot. The same applies if a fuse blows, the cord becomes warm, or the chassis has uncertain grounding. Some vintage sets, especially certain compact AC/DC designs, use chassis arrangements that require special safety precautions.
A collector may be comfortable removing dust from a cabinet, checking an antenna wire, or documenting symptoms. Electrical diagnosis inside a live tube radio is a different task. These sets contain high voltages, and an antique radio can be damaged quickly by a misplaced probe, an incorrect replacement part, or repeated power-up attempts.
At Regal Sound Design, restoration begins with respect for both the circuitry and the story a radio carries. Whether the piece is a 1930s tombstone, a mid-century console, or a family radio that has sat silent for decades, the most useful first step is often a patient diagnosis rather than a hurried fix.
Static is frustrating because it interrupts the sound you hoped to hear. Yet it is also the radio’s way of offering evidence. Listen to when it appears, where it changes, and what affects it, then let those clues guide careful service that preserves the voice - and the history - of the set.


Comments