


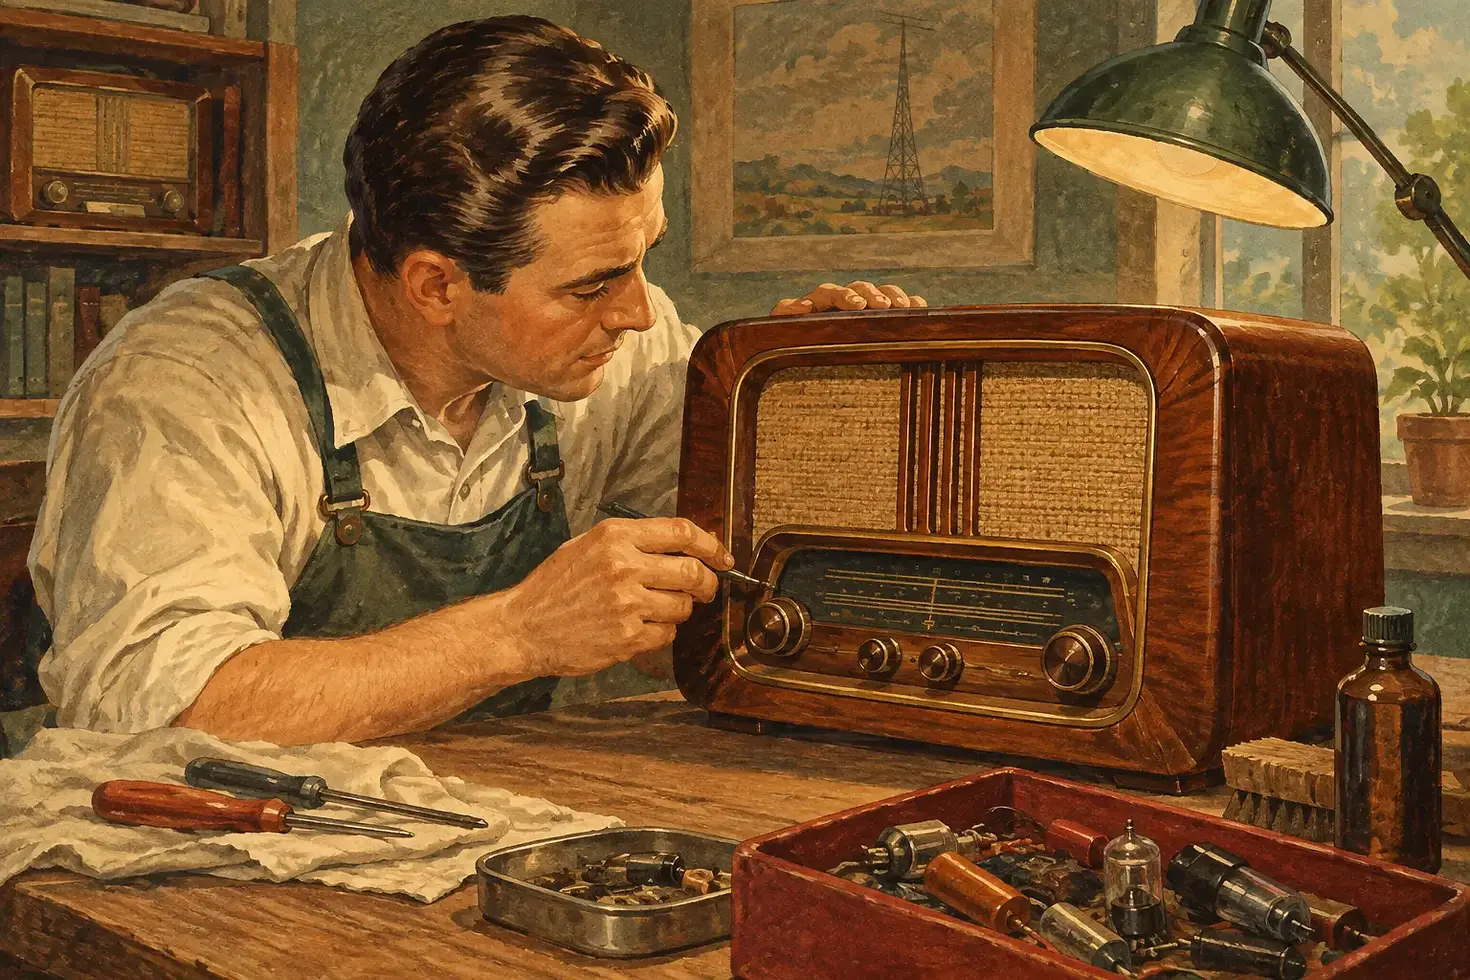
Best Antique Radio Restoration Methods Explained

A silent cathedral radio or a console that hums but will not tune can look like a simple repair project. It rarely is. The best antique radio restoration methods begin by treating the set as both a working electronic device and a piece of history. A 1930s tabletop radio, a mid-century console, or the family receiver that once filled a living room with music deserves careful technical work without losing the details that give it meaning.
Start With an Honest Evaluation
Before power is applied, the radio should be examined inside and out. This first inspection establishes what is original, what has been altered, and what condition the cabinet, chassis, speaker, wiring, and tubes are in. A radio that has been sitting in an attic for decades can hold brittle insulation, leaking capacitors, damaged cords, rodent debris, and parts that look intact but are no longer safe.
Originality matters, but it does not mean preserving every failed component at the expense of the radio's safety. Old electrolytic and paper capacitors are common sources of trouble in tube-era equipment. They often deteriorate internally even when the radio has spent its life on a shelf. Applying full power before evaluating them can damage a power transformer, rectifier tube, speaker field coil, or other parts that are far harder to replace.
The cabinet should receive the same attention. Loose veneer, cracked Bakelite, missing knobs, damaged dial glass, and faded grille cloth all affect the plan. A complete assessment helps determine whether the right approach is conservative preservation, functional restoration, or a more involved cabinet repair.
Make Electrical Safety the First Repair
The safest restoration method is to replace known failure-prone electrical components before asking an old radio to operate normally. A qualified technician tests the power transformer, speaker, tubes, switches, controls, coils, and major circuit paths, then replaces parts that are unsafe or outside acceptable electrical values.
Capacitor replacement is central to most dependable antique radio repairs. Modern capacitors are more stable and reliable than their original counterparts, but their installation should be neat, appropriately rated, and sympathetic to the chassis. In highly collectible sets, replacement capacitors can sometimes be concealed within original shells so the under-chassis appearance remains closer to period correct. That level of preservation is not necessary for every radio, but it is often worthwhile for rare, historically significant, or sentimental pieces.
A deteriorated power cord should also be replaced with a properly rated cord. Depending on the radio's design, safety improvements may include a fuse, an isolation transformer during service, or other measures that reduce shock and fire risks. Some designs, especially certain AC/DC radios, require special caution because parts of the chassis may be connected directly to the power line.
This is one area where do-it-yourself enthusiasm has limits. Tube radios can retain dangerous voltage after being unplugged. Their power supplies regularly operate at voltages high enough to cause severe injury, and an incorrect repair can create hidden hazards. If the set is valuable, unfamiliar, or electrically compromised, professional restoration is the sensible choice.
Preserve What Can Be Preserved
The best antique radio restoration methods do not make every set look factory-new. A lightly worn finish, an original station label, or the gentle patina of brass hardware may be part of the radio's story. Aggressive sanding and refinishing can erase details that collectors value and can make an otherwise original cabinet look less authentic.
For many wood cabinets, a careful cleaning, minor veneer stabilization, and restrained finish preservation are preferable to a complete strip and refinish. Dust and old residue can be removed gradually, while loose veneer can be reglued and clamped. Missing trim may be recreated when necessary, but it should match the original profile, wood species, and finish as closely as practical.
Plastic cabinets require a different touch. Catalin, Plaskon, and Bakelite can crack, warp, or discolor. Strong solvents, excessive heat, and overly aggressive polishing can cause permanent damage. A gentle cleaning and measured polishing process usually protects more value than trying to force a bright, artificial shine.
Reproductions also deserve thoughtful use. A replacement grille cloth, dial cover, knob, or dial cord can return a radio to a more complete appearance, particularly when original pieces are missing. The goal is not to misrepresent the radio. It is to restore its dignity and usefulness while keeping the original design legible.
Rebuild the Circuit With Respect for Its Design
Once the power supply and safety concerns are addressed, the radio's circuit can be restored methodically. This work includes checking resistors for drift, inspecting wiring, cleaning tube sockets, evaluating tubes, repairing broken leads, and verifying the condition of coils, transformers, and the speaker.
Tubes should be tested, but a weak reading does not always mean a tube must be discarded. Performance in the actual circuit matters, as does the availability of a correct replacement. Conversely, simply replacing every tube in a radio is rarely the best method. It can add cost without resolving the fault and may remove serviceable original components from the set.
Controls often respond well to careful cleaning, but they should not be flooded with generic sprays. Volume controls, band switches, and tuning mechanisms need the right cleaner or lubricant in the right amount. Dial mechanisms can be delicate, especially on radios with fine dial cords or complex push-button tuning assemblies. Forcing a frozen tuner can break a part that has survived for nearly a century.
Speaker restoration also deserves more care than it sometimes receives. A torn paper cone may be repairable, while a badly deteriorated cone may need professional reconing. Original electrodynamic speakers are especially significant because their field coils can be part of the power-supply circuit. Replacing one casually with a modern permanent-magnet speaker can change both the radio's electrical behavior and its voice.
Align for the Sound the Radio Was Meant to Have
A radio can be electrically sound and still perform poorly if its alignment is off. Alignment restores the proper relationship between the antenna circuits, oscillator, intermediate-frequency stages, and dial markings. Done correctly, it improves sensitivity, selectivity, tracking, and the ability to tune stations where the dial says they should be.
This work requires calibrated test equipment and the service information appropriate to the model. Adjustments should be made sparingly and in sequence. Turning every adjustment screw in search of a stronger signal often creates more problems than it solves. Some sets were never designed to sound like modern hi-fi equipment, either. The aim is faithful performance within the limits of the original design, not a false version of perfection.
After alignment, the radio should be tested across its bands at normal operating temperature. Hum, distortion, fading, excessive heat, and intermittent noise all deserve attention before the chassis goes back into the cabinet. A good restoration is not merely a radio that turns on. It is a radio that operates reliably and sounds balanced, clear, and true to its era.
Document the Work and Protect the Result
Thoughtful documentation adds real value to a restoration. Keep notes on the model number, original condition, replaced parts, testing results, and any cabinet work performed. Photographs taken before and during service help preserve the radio's history, especially for family heirlooms and collector-grade pieces.
Once restored, give the radio a suitable home. Avoid damp basements, hot attics, direct sunlight, and areas where the cabinet can be bumped or exposed to smoke. Operate it occasionally rather than leaving it unused for another generation, but do not leave it playing unattended for long periods. If a new hum, smell, or loss of reception appears, turn it off and have it checked.
At Regal Sound Design, restoration is approached as an act of stewardship. The reward is more than a glowing dial or a favorite station coming through the speaker. It is the familiar, living sound of an object that has carried decades of craftsmanship, memory, and music into the present.


Comments