


How to Diagnose Tube Hum Without Guesswork

A low, steady hum can make a treasured console radio or tube amplifier feel as though something vital has gone missing from the room. Learning how to diagnose tube hum begins with listening carefully rather than replacing parts at random. Hum is a symptom, not a diagnosis, and its behavior often reveals whether the trouble lies in the source equipment, the tubes, the power supply, grounding, or an aging component beneath the chassis.
Before doing anything else, protect both yourself and the equipment. Tube gear can retain dangerous electrical charge even after it has been unplugged. Many antique radios and amplifiers contain voltages that can seriously injure or kill. If you are not experienced working safely around high-voltage electronics, limit your inspection to external checks, tube seating, and listening tests. Leave under-chassis measurements, capacitor discharge, and live troubleshooting to a qualified restoration specialist.
How to Diagnose Tube Hum by Its Sound
Not all hum sounds alike. A soft, smooth low-frequency note may be normal when your ear is close to a high-sensitivity speaker, especially in an older receiver. A hum clearly audible across the room, however, deserves attention. Start by noting whether it is constant, whether it changes with the volume control, and whether it appears only on a particular input or tuning band.
In the United States, AC power operates at 60 Hz. A 60 Hz hum often points toward heater wiring, grounding, or magnetic coupling from a power transformer. A harsher 120 Hz buzz or hum frequently suggests inadequate filtering in the power supply. In vintage equipment, dried-out electrolytic filter capacitors are a common cause, but they should never be assumed to be the only cause.
Listen for texture as well as pitch. A pure low hum is different from a raspy buzz, a crackling sound, or a hum accompanied by distortion. Buzz can enter through dimmer switches, LED lamps, cable television grounds, switching power supplies, and other modern household electronics. Crackling may indicate a dirty control, a failing resistor, or a tube with an intermittent internal connection. These distinctions save time and help preserve original circuitry from unnecessary disturbance.
Does the volume control change the hum?
Turn the volume all the way down with no music playing. If the hum falls significantly or disappears, the problem is likely before the volume control. That can include the selected source, input cable, phono section, tuner circuitry, or an early amplification stage.
If the hum remains at nearly the same level regardless of volume setting, suspect a later stage of the amplifier or the power supply. Output-stage hum, grounding faults, and tired filter capacitors commonly behave this way. This is not a final verdict, but it is a useful dividing line.
For a radio, repeat the test on each band and with the antenna arrangement unchanged. If hum is present on every band and does not react to the volume control, it is less likely to be a weak station or antenna issue. If it occurs only when a particular external source is selected, the radio or amplifier may be innocent.
Rule Out the Surroundings First
A vintage component can be perfectly healthy and still pick up noise from the system around it. Disconnect all nonessential source components from the amplifier or receiver. If a turntable, streaming device, television, cable box, or external preamplifier is connected, remove them one at a time. Use the equipment's normal input selection and listen after each change.
If the hum vanishes when a particular component is removed, inspect that component's cable, power connection, and grounding arrangement. Turntables are especially susceptible. A loose or missing turntable ground wire can produce a pronounced hum, while a cartridge lead routed too close to a motor or power transformer can introduce noise even when the ground is intact.
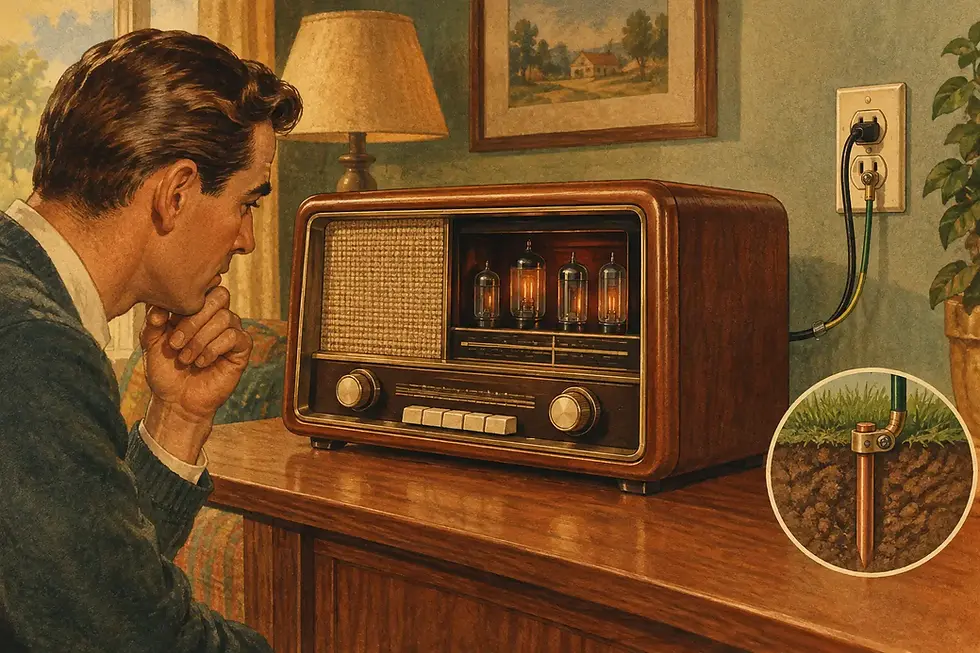
Try the unit in a different outlet, preferably on another circuit in the home. Do not defeat a polarized or grounded plug, remove a safety ground, or use an adapter to make an old plug fit. Those shortcuts may alter the hum, but they can also create a shock hazard. The goal is to identify a condition, not mask it.
Keep signal cables away from power cords, power strips, wall-wart adapters, routers, and fluorescent or LED lighting. Cable routing is a modest detail with surprisingly large consequences in a high-gain tube preamplifier. If moving a cable changes the hum, the equipment may need better shielding, grounding attention, or simply a more thoughtful installation.
Inspect What You Can Safely See
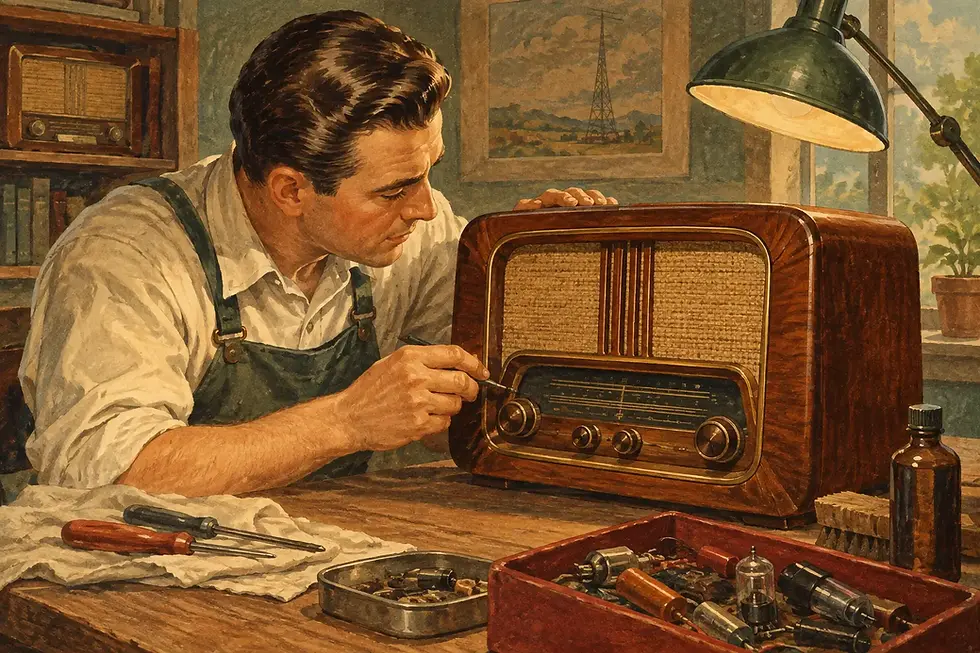
With the unit unplugged and fully cooled, look over the exterior before opening anything. Check that each tube is seated straight in its socket. A tube that has worked loose during moving or shipping can create noise, weak output, or intermittent operation. Do not force a tube. Locate its key or pin pattern and seat it gently only if it clearly belongs in that socket.
Examine cords, plugs, input jacks, speaker terminals, and switches for fraying, corrosion, looseness, or obvious damage. On a console radio, also look for cracked insulation around accessible wiring and signs that a previous repair was performed carelessly. A replacement cord or repaired connection is not inherently a concern, but workmanship matters greatly in equipment that may be many decades old.
Avoid the tempting habit of tapping tubes or reaching under the chassis with the power on. A light tap test can sometimes reveal microphonics, yet it can also lead to broken glass, burns, or contact with hazardous voltages. Likewise, do not judge capacitors only by appearance. Some failed capacitors look normal, while some original parts deserve careful assessment before replacement because historical integrity matters.
Tubes Can Cause Hum, but They Are Not Always the Cause
A failing rectifier tube can contribute to power-supply trouble, and an output tube with heater-to-cathode leakage can introduce hum. Small-signal tubes in a phono preamp or early gain stage may also develop noise. Still, tubes are often blamed because they are visible and easy to replace, while the actual problem rests elsewhere.
If you own known-good, properly tested replacements of the exact correct type, substitution can be informative. Change only one tube at a time, note the original location, and allow the unit to cool before handling it. Never substitute based on a tube's physical fit alone. Similar-looking tubes may have different pin connections, operating requirements, or electrical characteristics.
When a tube change clearly affects the hum, that finding is useful, but it may not tell the full story. A replacement tube can draw current differently and expose a weak capacitor, resistor, socket contact, or bias condition. A careful technician confirms the cause rather than declaring victory after the first quiet moment.
The Power Supply and Grounding Deserve Respect
In tube-era electronics, the power supply works hard. Rectified AC must be filtered into the high-voltage DC that feeds the circuit. Electrolytic capacitors perform much of that work, and their materials age whether or not the set is used regularly. A radio stored in an attic for decades may play briefly yet still have capacitors that are electrically unsafe or unable to filter hum properly.
Filter-capacitor service is among the most common restoration tasks, but it should be approached with care. Correct capacitance, voltage rating, polarity, mounting method, and wiring layout all matter. In a historically significant radio or amplifier, an experienced restorer may preserve the original appearance by rebuilding a multi-section capacitor can or discreetly housing modern safety-rated components. That is the difference between a repair that merely functions and restoration that respects the artifact.
Grounding issues can be equally nuanced. Some early designs use a chassis arrangement that behaves differently from later safety-grounded equipment. Adding or changing grounds without understanding the circuit can create noise, damage components, or make the equipment less safe. A proper diagnosis considers the original design, prior modifications, and how the unit is being used in a modern home.
When Professional Diagnosis Is the Best Next Step
Stop using the unit if hum is accompanied by smoke, a burning odor, overheating, blown fuses, visible arcing, or a power transformer that becomes unusually hot. Also pause if the hum suddenly appeared after long reliable service. Continued operation can turn a contained repair into transformer, speaker, or output-tube damage.
A restoration specialist can trace the signal path, test power-supply ripple, assess tubes under appropriate operating conditions, examine bias and grounding, and identify older repairs that may be compromising reliability. For heirloom equipment, that process should include a conversation about goals. A daily-use amplifier may benefit from discreet reliability upgrades, while a rare Catalin radio or untouched early set may call for a more conservative preservation plan.
At Regal Sound Design, the objective is not simply to silence a hum. It is to return vintage audio equipment to dependable, enjoyable service while honoring the craftsmanship and history held in every cabinet, chassis, dial, and glowing tube. A careful diagnosis preserves more than sound - it helps preserve the moment you hoped to hear again when you first brought that old radio or amplifier home.

Comments