


A Console Radio Restoration Example, Step by Step

A console radio restoration example is rarely a simple story of replacing a bad tube and turning a knob. A floor-standing radio may have spent decades in a family living room, then years silent in a basement, attic, or estate home. Bringing it back asks for two kinds of care: the electrical work that makes it safe and musical again, and the restraint that preserves the cabinet, finish, dial, and history that make it worth saving.
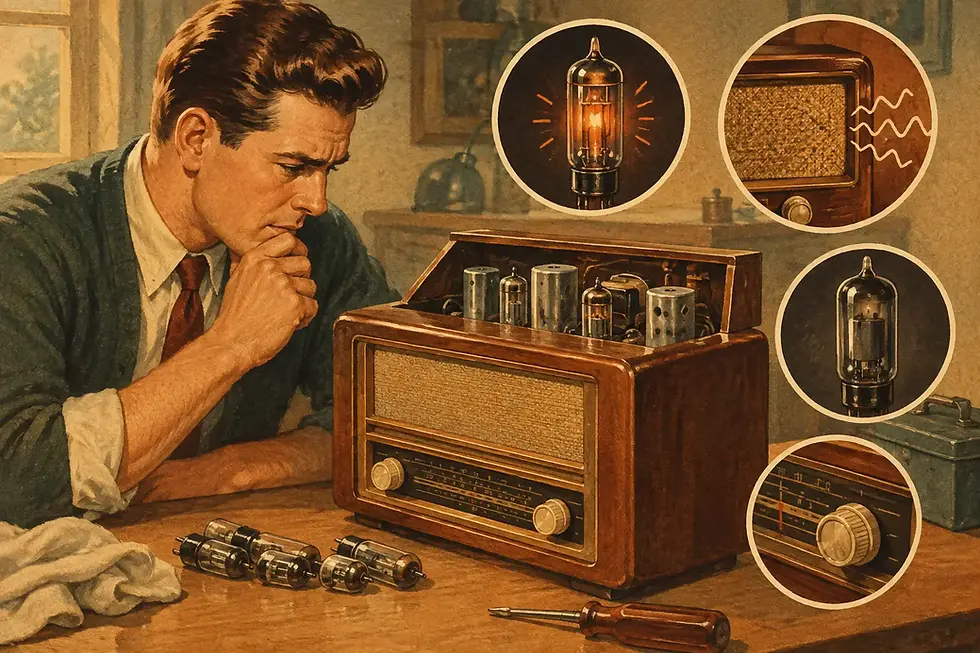
Consider a representative late-1930s to early-1940s console: a handsome wooden set with a multi-band dial, fabric speaker grille, several control knobs, and a chassis built around vacuum tubes. It has not played in years. The owner remembers hearing baseball games through it at a grandparent's house and wants to hear it again without turning a meaningful heirloom into something unrecognizable.
The First Rule: Do Not Plug It In
When an old console has been dormant for years, applying power before an inspection can damage parts that might otherwise be preserved. Paper and electrolytic capacitors age internally, rubber-covered wiring can become brittle, and old power components may fail under voltage. A radio that appears clean on the outside can still have serious electrical concerns underneath the chassis.
The first stage is documentation. Before parts are removed, a restoration specialist records the cabinet condition, chassis layout, tube lineup, dial arrangement, speaker connections, labels, and any evidence of prior repair. Original service notes, penciled markings, and manufacturer tags can be historically useful. So can the small imperfections that tell the truth of a radio's life.
The chassis is then removed carefully from the cabinet. Console radios are heavier and more awkward than tabletop sets, and their speaker, antenna, and dial mechanisms often remain connected to the cabinet. Rushing this step can tear speaker cloth, strain fragile dial cords, or damage veneered edges that have survived for nearly a century.
A Console Radio Restoration Example Begins With Diagnosis
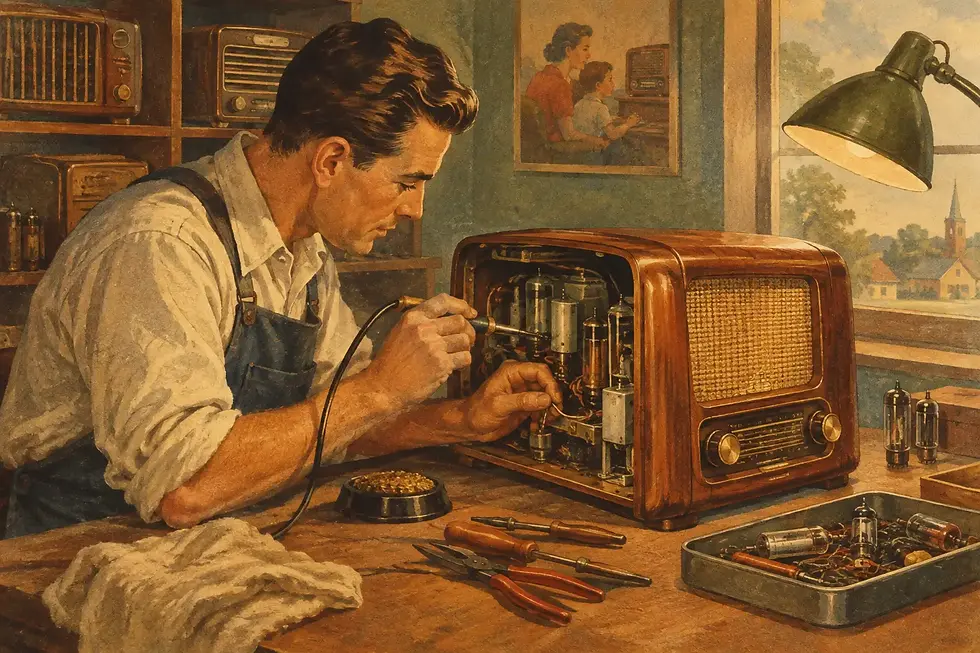
With the chassis on the bench, the restoration becomes a process of careful diagnosis rather than guesswork. The goal is not to replace every old-looking part. The goal is to identify what prevents safe, reliable operation while retaining original components whenever their condition permits.
In this example, the power cord's insulation has hardened and cracked. Several wax-paper capacitors are leaking electrically, the filter capacitors in the power supply have dried out, and a few sections of rubber wire are breaking apart when moved. The tubes test reasonably well, but the radio's controls are noisy and the dial pointer does not track accurately across the scale.
Those findings are common, but each radio has its own needs. A set that hums loudly may need power-supply service. A set that receives only one strong local station may have alignment issues, antenna trouble, weak tubes, or faults elsewhere in the signal path. A console with no sound at all can involve anything from a failed power transformer to a damaged speaker field coil. The correct repair depends on measured evidence, not on a standard parts list.
Making the electrical system safe
The failed capacitors are replaced with modern, reliable components selected for the correct electrical values and voltage ratings. Where practical, replacements are installed in a tidy, serviceable manner that respects the original circuit layout. Safety-related work may also include a properly rated fuse, a replacement power cord, and attention to grounding practices appropriate to the design.
This is where preservation and performance must be balanced. Some owners want a historically correct under-chassis appearance, including rebuilt original capacitor shells. Others prioritize dependable operation for regular listening. Both approaches can be appropriate when discussed beforehand. What matters is that the work remains reversible where possible and never compromises the radio's safety or integrity merely for appearance.
Resistors are checked individually, because their values can drift far beyond their original tolerance. Tube sockets and switches are cleaned with care, and controls are serviced so the volume and tuning functions move smoothly without crackling or intermittent sound. If a tube is weak or defective, it is replaced with a suitable tested tube rather than treated as automatically suspect because of its age.
Preserving the speaker and original voice
A console's speaker is a major part of its character. Many sets use large electrodynamic speakers, sometimes with a field coil that also plays a role in the power supply. The cone may be fragile, the voice coil may rub, or the wiring may be deteriorated. Replacing the speaker indiscriminately can change the way the radio sounds and may alter the circuit's operation.
In this example, the original speaker cone has a small tear but remains fundamentally sound. A careful repair stabilizes it without replacing the entire assembly. Once the electronic work is complete, the radio retains the warm, room-filling quality that made console radios the center of home entertainment. It does not sound like a modern Bluetooth speaker, nor should it. Its appeal lies in its own period voice: broad, present, and gently shaped by the cabinet and speaker design.
Alignment Brings the Dial Back Into Focus
After failed components are addressed, the radio can be powered slowly and monitored. Voltage readings, current draw, and audio response help confirm that the power supply and amplifier stages are behaving properly. Only then is it time for alignment.
Alignment adjusts the radio's tuned circuits so stations appear where they should on the dial and sensitivity is restored across the band. It requires the right test equipment, the correct service information when available, and a light touch. Turning adjustment screws at random is an easy way to make reception worse.
For this console, the first test brings in a few stations, but they are weak and displaced from their dial markings. A measured alignment restores better tracking and selectivity. Local stations arrive clearly, distant evening broadcasts become easier to separate, and the dial pointer once again gives the listener a useful sense of where they are tuning.
Perfect reception is not always realistic. Location, household electrical noise, antenna conditions, station availability, and the original design all influence results. An antique radio can be restored to perform at its intended standard, but it cannot receive stations that no longer broadcast or overcome every source of modern interference. Honest restoration includes setting those expectations.
The Cabinet Should Look Cared For, Not Newly Manufactured
While the chassis work proceeds, the cabinet deserves its own evaluation. Console cabinets often show water rings, sun fading, loose veneer, scratches, worn lacquer, and accumulated grime. These marks are not all equal. Some call for repair; others are part of the radio's honest age.
In this case, the cabinet has a dull finish, light surface scratches, and one small section of loose veneer near the base. The grille cloth is stained but intact. A preservation-minded approach begins with gentle cleaning and stabilization. Loose veneer is reglued, minor finish wear is blended where appropriate, and the original grille cloth is retained if it can be safely cleaned and supported.
A full cabinet refinish can be the right choice when the finish is beyond recovery, when water damage has severely compromised the wood, or when an earlier poor refinish has obscured the radio's design. But it is not automatically the best choice. Original lacquer, patina, and small signs of household use often contribute more to a console's authenticity than a flawless modern-looking surface.
The dial glass, escutcheon, buttons, and knobs receive the same restraint. Original knobs are preferred whenever possible. Reproductions can be useful when a part is missing, but an original part with a little wear may be more appropriate than a replacement that looks too new.
The Moment It Returns to the Room
Once the chassis is reinstalled, the radio is tested again as a complete instrument. The speaker must be secure, the dial should move freely, the controls should operate as intended, and the cabinet should sit level without stressing old joints. The final listening test is not just about whether sound comes out. It is about whether the set performs with stability, clarity, and the character its makers intended.
For the owner, the reward may be hearing a favorite AM program through a familiar dial glow, or simply seeing a long-silent console occupy its rightful place in the home again. That is why thoughtful restoration matters. The radio becomes usable without losing the evidence of the family, craftspeople, and era that brought it this far.
If you have a console radio waiting in storage, begin by keeping it unplugged and taking a few clear photos of the cabinet, dial, rear label, and chassis if accessible. Those small details can help a qualified vintage radio specialist understand what has survived and how best to give its voice a careful second life.

Comments