


Best Radio Dial Restoration Supplies to Use

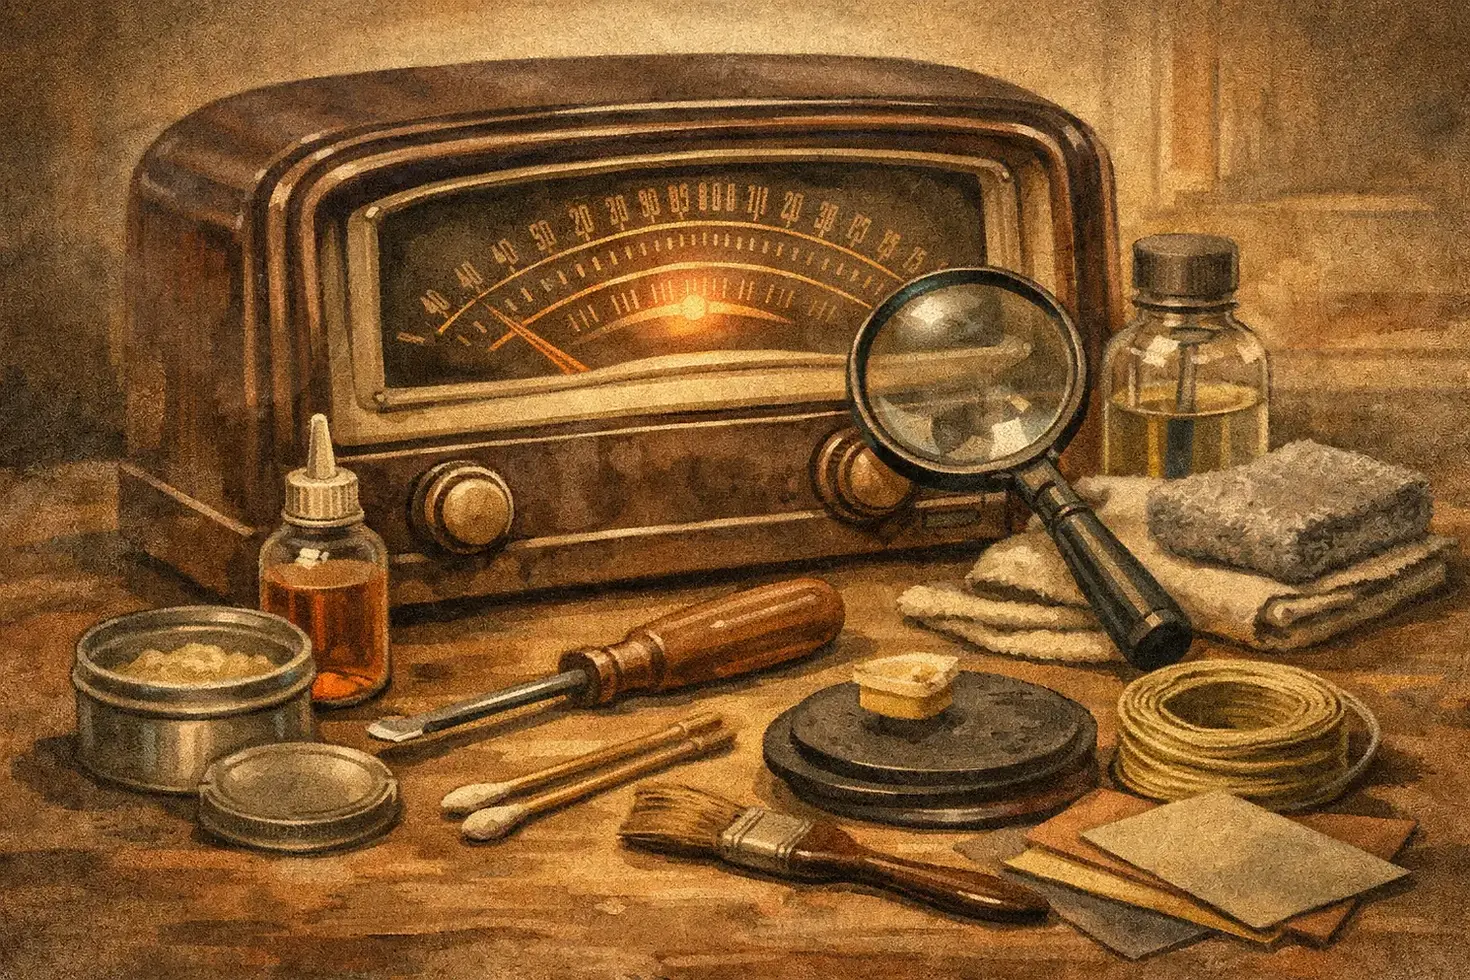
A radio dial is often the first part of a vintage set people notice. It carries station names, frequency markings, colors, and the small signs of use that make a 1930s cathedral, a postwar tabletop radio, or a family console feel irreplaceable. The best radio dial restoration supplies are not necessarily the strongest cleaners or the newest coatings. They are the materials that let you work slowly, preserve original detail, and stop before a fragile dial becomes permanently damaged.
A dial can be glass, celluloid, acetate, acrylic, printed plastic, painted metal, or paper-backed material. Those surfaces may look similar from the front, but they respond very differently to moisture, pressure, heat, and solvents. Before buying supplies, identify what you have and decide whether it needs cleaning, stabilization, repair, or careful reproduction.
Best Radio Dial Restoration Supplies for Safe Work
The most useful supply is not a cleaner. It is good lighting. A bright, adjustable work light and magnification reveal whether lettering is on the front or back of the dial, whether a dark area is dirt or deteriorating ink, and whether a crack is merely visible or actively spreading. Photograph the dial in place before removing anything. Include the dial cord path, pointer position, mounting hardware, and any paper labels behind the dial.
For routine surface dust, begin with a soft natural-hair artist brush, a hand-operated air blower, and clean microfiber cloths. A brush lets you lift loose dust from corners and embossed markings without dragging grit across the surface. Avoid canned compressed air. Its force can dislodge fragile paint, and some products can leave a cold residue on delicate plastics.
White cotton gloves or clean nitrile gloves are useful when handling glass and metal parts, but bare, freshly washed hands may offer better control when working around thin plastic. The goal is not ritual. It is avoiding fingerprints, skin oils, and accidental slips.
Keep a small selection of nonmetal tools nearby: bamboo skewers, wooden toothpicks, plastic tweezers, and a soft silicone-tipped tool. These help guide dial cord, lift old foam residue, or position a tiny fragment without scratching glass or metal. For screws and clips, use correctly sized hollow-ground screwdrivers. A slipped screwdriver can do more damage in a second than decades of ordinary wear.
Cleaning materials that earn their place
Distilled water, used sparingly on a barely damp cotton swab, is sometimes appropriate for unprinted glass faces. It is not a universal cleaner. If printing is on the reverse side of the glass, moisture can reach an edge, loosen the ink, and leave a permanent loss.
For stable glass with stubborn oily film, a mild, non-ammoniated glass cleaner applied to the cloth rather than sprayed on the dial may be suitable. Test a hidden edge first. Never assume that a dial is bare glass simply because it feels hard and smooth. Reverse-painted dials, gold leaf accents, and delicate dial masks require a far more cautious approach.
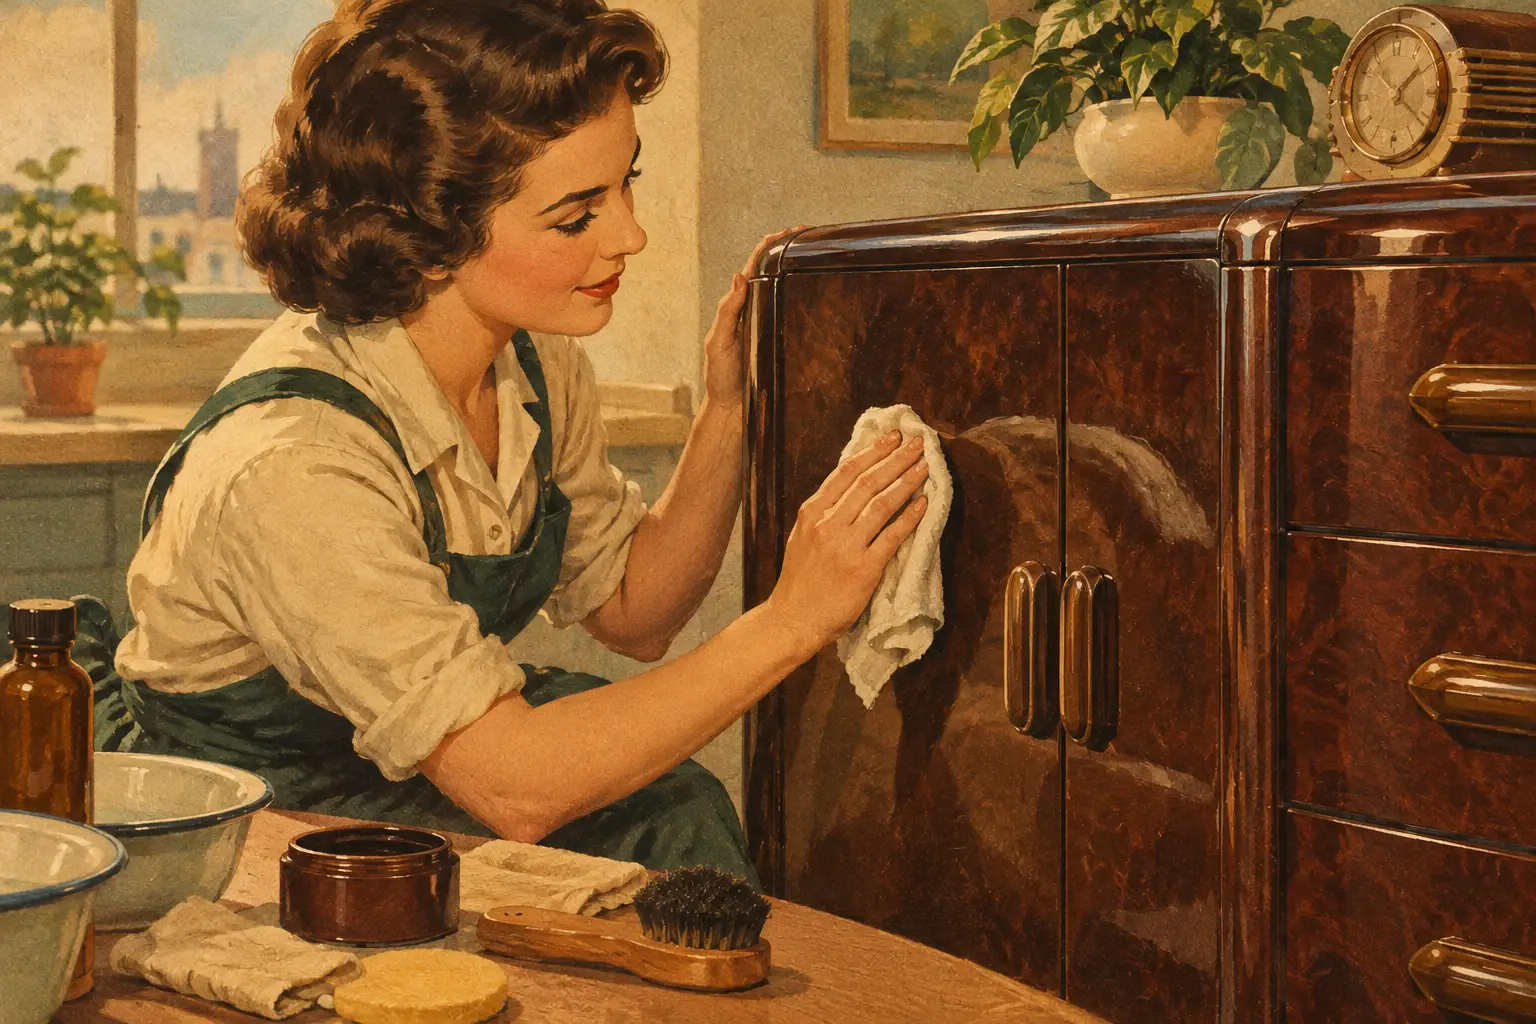
For plastic, celluloid, and acetate, use the least aggressive method possible: dry brushing first, then minimal distilled water only after a discreet test. Alcohol, acetone, lacquer thinner, ammonia, abrasive polish, and household degreasers can cloud plastics, erase printed markings, or trigger cracking. A dial that has yellowed with age may be telling the truth about its history. Trying to make it look factory-new can leave it looking far worse.
Supplies for Cracks, Missing Pieces, and Fading
Not every flaw should be repaired cosmetically. A hairline crack in an otherwise stable plastic dial may be best left alone after careful cleaning and secure mounting. Adhesive can wick into the crack, change how light passes through it, and create a more noticeable scar.
When a broken piece must be reattached, choose a clear, archival-quality adhesive only after testing it on a similar scrap material. The right adhesive depends on the dial material, the break shape, and whether the repair will remain visible under dial illumination. Apply it with a fine applicator in the smallest practical amount. Excess glue is difficult to remove and can fog transparent plastics.
For a dial that is fragile but intact, stabilization is often preferable to repair. This may mean making a clean support backing, reducing stress at mounting points, or replacing deteriorated cushions and spacers so the dial no longer flexes. Thin archival polyester film can sometimes be used as a noninvasive support or protective layer, but it should never trap moisture or press against unstable paint.
Missing lettering presents a different question. If the original printing is largely present, preserve it rather than repainting it. Touch-up paint can make a dial look heavy-handed, especially on finely detailed Art Deco scales. If a dial has severe losses, a high-quality reproduction may be the more honest choice. Keep the original with the radio whenever possible. It remains part of the set's history, even when it is no longer suitable for daily display.
Paints and marking materials
When limited paint touch-up is appropriate, use artist-grade acrylics or enamel paints selected for color, opacity, and compatibility with the surface. Fine sable or synthetic detail brushes, paint palettes, and a magnifier are more valuable than a large assortment of colors. Mix slowly and compare under the same type of light the radio will use. A color that appears correct in daylight can look distinctly wrong behind a warm dial lamp.
Avoid paint pens for delicate original dials. Their broad, opaque marks are hard to control, and their solvents may react with old finishes. Likewise, avoid clear spray coatings over printed dials unless you have confirmed the material and tested the result. A protective coating can darken, haze, yellow, or dissolve the very lettering it was meant to save.
Do Not Forget the Dial Mechanism
A beautiful dial still disappoints if the pointer sticks, the dial cord slips, or the tuning scale no longer aligns with the stations. Dial restoration usually includes mechanical supplies as well as cosmetic ones.
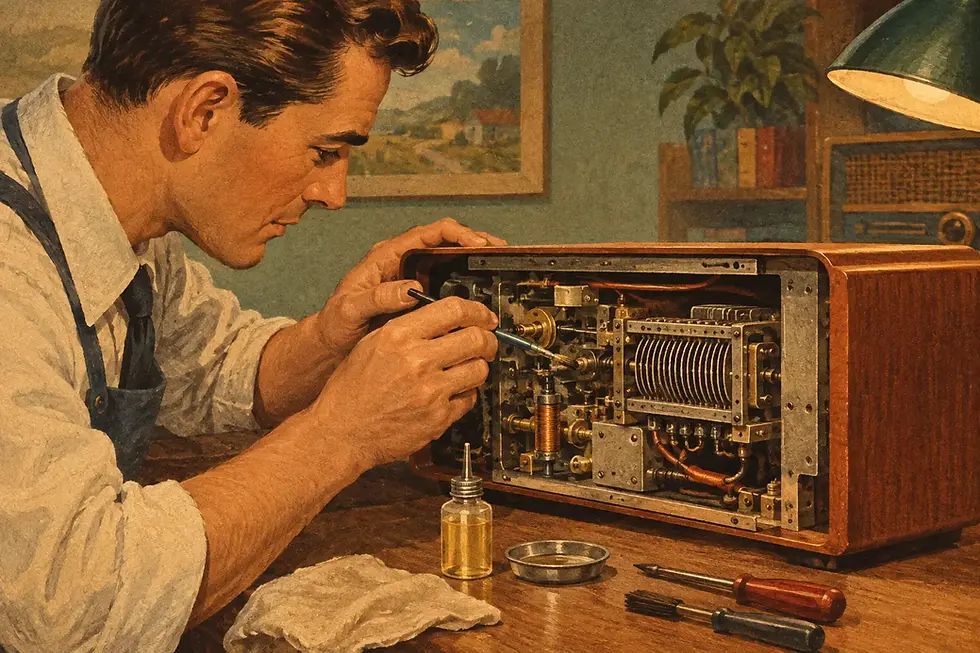
Keep fresh dial cord in several diameters, along with small springs, pulley bushings, and suitable rubber grommets. Use cord that matches the original thickness and grip as closely as practical. Cord that is too thick can bind in a pulley groove; cord that is too thin may slip or produce an incorrect tuning ratio. A service diagram is helpful, but detailed photographs taken before disassembly are often the best record of a particular radio's routing.
A small amount of appropriate light machine oil may be used on designated metal pivots, while some mechanisms need grease instead. Keep all lubricant away from dial cord, dial faces, plastic pulleys, and the tuning capacitor plates. Over-lubrication attracts dust and can migrate where it does not belong.
Replace burned-out dial lamps with the proper type and rating. An overly hot bulb can warp plastic, fade a paper scale, and scorch a painted dial mask. If the original lamp arrangement has already caused heat damage, consult a qualified restoration specialist before substituting a different bulb or modifying the circuit. Tube-era radios contain high voltages, and even an unplugged chassis can retain a dangerous charge.
Choosing Supplies With Restraint
A well-stocked bench does not need dozens of miracle products. For most projects, careful restoration begins with soft brushes, magnification, distilled water, cotton swabs, nonmetal tools, correct screwdrivers, proper dial cord, and a few tested conservation-minded materials. The rest depends on the radio in front of you.
A 1920s battery set with a simple engraved panel calls for one approach. A 1940s illuminated plastic dial with fragile reverse printing calls for another. Catalin and Plaskon cabinets add their own concerns, as do paper station tabs and decorative escutcheons. The right choice is often to clean less, retain the original surface, and let honest age remain visible.
At Regal Sound Design, we view a radio dial as more than a control panel. It is the face of the music, broadcasts, and family memories the radio once carried. If a material or method puts that history at risk, patience is the better supply to have on the bench.

Comments