


An Art Deco Radio Case Study in Restoration

A cream-colored dial, stepped cabinet lines, a waterfall grille, and a row of original knobs can make an Art Deco radio impossible to overlook. Yet the visual drama is only half the story. This Art Deco radio case study follows the careful decisions behind returning a neglected 1930s tabletop radio to safe operation while preserving the character that made it worth saving.
The set arrived as many heirloom radios do: silent, dusty, and outwardly complete. Its owner had inherited it from a grandparent and remembered it sitting on a living room side table, broadcasting baseball games and evening music. The cabinet had survived remarkably well, but the chassis had not been powered in decades. Restoring it called for more than making tubes light up. It required a respectful balance between electrical reliability, original appearance, and the sound that gives an old radio its living presence.
What Made This Art Deco Radio Worth Saving
Art Deco radios were designed to be seen. Manufacturers used bold geometry, contrasting veneers, chrome trim, colorful plastics, and dramatic speaker grilles to make a household appliance feel modern and optimistic. Even modest tabletop sets carried a sense of occasion. Their cabinets reflect a period when radio was furniture, entertainment, and a window to the wider world.
This particular radio had the details collectors hope to find intact: its original dial escutcheon, station markings, push buttons, grille cloth, and knobs remained in place. The veneer showed scratches and dullness, but no major sections were missing. That condition changed the restoration approach. A complete refinish might have made the cabinet look newer, but it would also have erased decades of honest age and reduced its historical integrity.
The radio also held personal value. For an estate inheritor, the goal is often not museum-level perfection or a speculative resale price. It is hearing a familiar object speak again, while keeping the marks that prove it belonged to the family. Those goals deserve the same level of technical care as a high-value collector piece.
The First Rule: Do Not Plug It In
An old radio that appears clean can still contain failed capacitors, deteriorated wire insulation, shorted components, or a damaged power transformer. Plugging in an unrestored tube radio can harm parts that are difficult or expensive to replace. It can also create a shock or fire hazard.
The chassis was inspected before any power was applied. The initial examination looked for corrosion, prior repair work, loose hardware, evidence of overheating, and mechanical damage. The power cord was brittle and unsuitable for use. Several paper capacitors had aged far beyond their dependable service life, and the electrolytic capacitors in the power supply needed replacement before the radio could be brought up slowly for testing.
This is where preservation-minded restoration differs from a quick repair. Original components are documented, and parts are replaced because their electrical condition calls for it, not merely because they look old. In some cases, a failed capacitor can be concealed within its original shell so the chassis retains a period-correct appearance. In other cases, a high-quality modern replacement is the sensible choice. The right approach depends on the radio, the owner’s goals, and whether the set is intended for regular listening or careful display.
Rebuilding the Electrical Foundation
Once the chassis had been documented, the essential electrical work began. The aged filter capacitors were replaced to stabilize the power supply and eliminate the heavy hum common in unrestored sets. Paper capacitors were replaced where leakage could affect performance, reliability, or safety. Resistors were checked for drift from their original values, and weak or out-of-specification parts were addressed as needed.
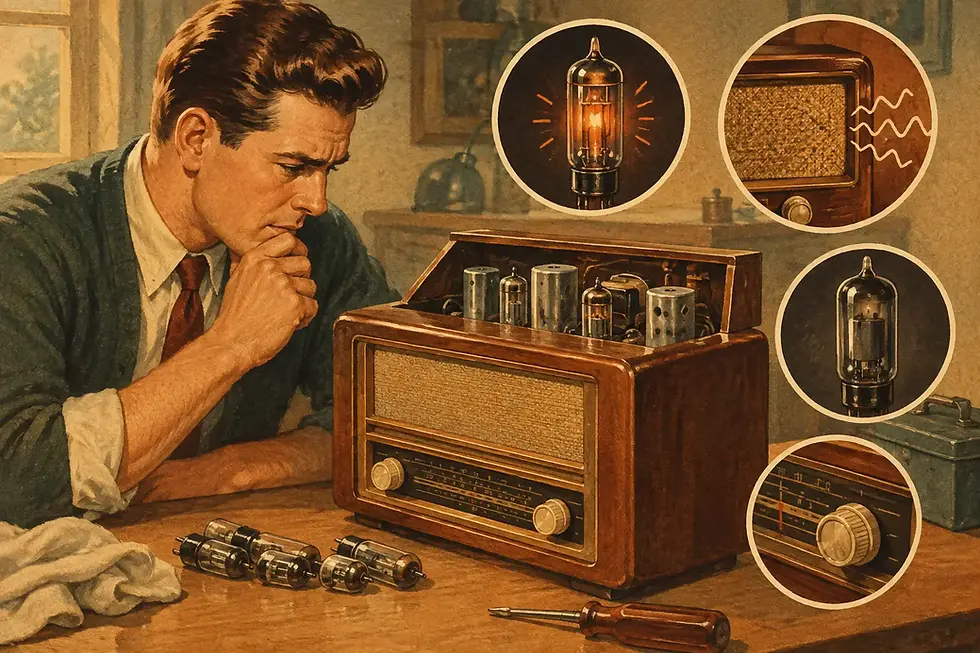
The tube lineup was tested rather than replaced automatically. Tubes are often blamed for every problem in a vintage radio, but many remain quite serviceable after eighty or ninety years. Replacing a good original tube without need adds cost and removes a part of the set’s history. At the same time, a weak rectifier, noisy converter tube, or failing output tube can prevent a radio from performing as it should. Testing gives the restoration a factual starting point.
The radio’s wiring was repaired selectively. Worn rubber-covered wire in high-risk areas required replacement, while stable cloth-covered wiring could remain. The deteriorated power cord was replaced with an appropriate new cord to make normal use safer. Every change was made with the chassis layout and future serviceability in mind.
After the basic rebuild, power was introduced gradually under controlled conditions. This step allows the restorer to monitor current draw and voltage behavior before a fault can damage the transformer, speaker field coil, or other original components. Only after the power supply proved stable did it make sense to evaluate reception and audio quality.
Bringing Back Reception and Tone
A radio can power on and still fail at its real purpose: receiving stations clearly and playing them with warmth and authority. In this case, the dial lamp came alive first, followed by a faint station through static. That small moment is often encouraging, but it is only the start of the alignment process.
The controls were cleaned and serviced to remove crackling and intermittent operation. The tuning mechanism was examined for smooth travel, and the dial cord was preserved because it remained functional. The volume control and band switch required careful attention. Aggressive cleaning can damage fragile wafers, printed markings, or original finishes, so the work must be measured rather than forceful.
Alignment followed. The intermediate-frequency stages and tuning circuits were adjusted to improve sensitivity and dial accuracy. Done properly, alignment does not turn an old radio into a modern communications receiver. It helps the set perform as its designers intended, with better station separation, clearer audio, and a more accurate relationship between the dial and the broadcast band.
The speaker was another important part of the case study. Its cone had a small tear near the edge, but the original field-coil speaker remained functional. Replacing it with a modern speaker would have been simpler, yet that choice could alter both the circuitry and the radio’s voice. The tear was stabilized, the speaker assembly was tested, and the original unit was retained. The result was not sterile hi-fi sound. It was the rounded, room-filling tone that makes tube-era radio listening so distinct.
Cabinet Care Without Erasing Its Age
The cabinet needed cleaning, not reinvention. Decades of household dust, nicotine residue, and old furniture polish had dulled the finish, but the original lacquer was still present across most surfaces. Careful cleaning revealed depth in the veneer and restored contrast to the stepped Art Deco details.
Small veneer lifts were reattached, minor scratches were blended, and the cabinet was polished conservatively. The grille cloth was lightly cleaned and retained because it was structurally sound and visually correct for the set. The dial cover was polished only enough to improve readability without removing its period character.
This restraint is a meaningful trade-off. A newly refinished cabinet can look dramatic in photographs, especially when the old finish is heavily worn. But a fully renewed surface may no longer match the radio’s original patina, trim, or dial components. For a radio with intact finish and family history, conservation is often the more faithful choice. If water damage, missing veneer, or previous poor refinishing has compromised the cabinet, more extensive work may be justified.
The Result Was More Than a Working Radio
When the restoration was complete, the radio tuned local AM stations with a stable signal, its controls operated smoothly, and the speaker delivered clear, gentle sound at ordinary listening levels. The cabinet no longer looked abandoned. It looked cared for, with its original design and age still plainly visible.
That distinction matters. Vintage radio restoration is not about making every artifact look as if it left the factory yesterday. It is about preserving what can be preserved, repairing what must be repaired, and returning the equipment to a condition where it can be appreciated safely. For a collector, that may mean retaining original details wherever possible. For a family, it may mean placing a once-silent radio back in the home and hearing the glow of its dial accompany an evening broadcast.
At Regal Sound Design, each Art Deco radio is treated as both a piece of electronic engineering and a witness to the lives around it. The best restoration decisions are rarely automatic. They come from close inspection, technical experience, and respect for the particular radio on the workbench.
If an Art Deco set has been waiting in an attic, estate, or family room, resist the temptation to test it by plugging it in. Preserve its condition, keep its loose parts together, and let its cabinet tell you what it has endured. With careful restoration, the radio may do something even more valuable than decorate a room: it may bring a piece of family history back into the room with sound.


Comments