


Turntable Repair and Restoration That Respects History

A record player can look nearly perfect and still fail the moment the stylus touches the groove. The platter may drift, the speed may wander, or a once-familiar album may sound thin, distorted, or strangely distant. Proper turntable repair and restoration addresses those failures without treating a vintage component as disposable. The goal is to return a machine to dependable musical service while respecting the materials, engineering, and memories that came with it.
For many owners, a turntable is more than a piece of hi-fi equipment. It may have belonged to a parent, lived in a console radio in the family room, or accompanied the first records purchased with a hard-earned paycheck. A careful restoration preserves that connection. It also protects the records themselves, since a worn stylus, misaligned cartridge, or unstable mechanism can cause lasting damage to vinyl.
What a Vintage Turntable Needs Before It Can Play Again
A turntable is a mechanical system, an electrical component, and a precision instrument all at once. Age affects each part differently. Rubber hardens, lubricants dry out, electrical contacts oxidize, and tiny adjustments shift after decades of use or storage. A player that has been silent for years should not simply be plugged in and tested with a favorite record.
The first task is a thorough evaluation. This means identifying the turntable's drive system, examining the tonearm and cartridge, checking the platter bearing, and testing speed stability. On changers and console units, the automatic cycle requires special attention. A mechanism can appear to work until it tries to lift, drop, or return a record, then bind because old grease has turned stiff as wax.
The condition of the surrounding system matters, too. Many vintage record players were designed to work with tube amplifiers, receivers, or self-contained console electronics. A turntable problem may actually be a weak amplifier stage, a tired capacitor, a dirty selector switch, or a failing speaker. Accurate diagnosis prevents unnecessary replacement of good original parts and helps ensure the restored player sounds as it should.
The Drive System: Idler, Belt, or Direct Drive
The method used to turn the platter often tells the restorer where to begin. Idler-drive turntables use a rubber wheel to transfer motor power to the platter. They are common in many mid-century changers and are valued for their strong torque, especially when the mechanism must cycle a stack of records. Their common trouble is hardened or glazed rubber, which can create rumble, slipping, or inconsistent speed.
Belt-drive models use an elastic belt between the motor pulley and platter. A stretched or brittle belt can make a turntable run slow, wobble in pitch, or fail to start. Replacing a belt is sometimes straightforward, but only after confirming that the pulley, bearing, and motor are clean and properly serviced. A new belt cannot correct dried lubricant or a motor that needs attention.
Direct-drive turntables rely on an electronically controlled motor. They have fewer mechanical drive parts, but their controls, switches, speed circuits, and capacitors can deteriorate with age. These models require a thoughtful balance of mechanical service and electronic troubleshooting. The right repair is determined by the individual unit, not by a one-size-fits-all parts list.
Turntable Repair and Restoration Begins With Preservation
There is a meaningful difference between repair and restoration. Repair resolves a fault that prevents normal operation. Restoration considers the complete experience: safe function, correct speed, clean signal transfer, proper tracking, original appearance, and the character of the equipment itself.
That distinction matters most with historic record players. An original dust cover may carry light scratches and still be worth preserving. A tonearm may have honest age in its finish but remain mechanically sound. A console's wood cabinet might need careful cleaning and stabilization rather than aggressive refinishing. Removing every sign of age can also remove the evidence of a piece's history.
At the same time, preservation should never mean leaving a player unsafe or unreliable. Deteriorated wiring, failing capacitors, cracked power cords, and unstable motors deserve professional attention. The best work makes thoughtful use of appropriate replacement materials where needed while retaining serviceable original components whenever possible. This approach respects both the artifact and the listener.
Why the Stylus and Cartridge Deserve Close Attention
The stylus is the small point that meets the record groove, but it has an outsized effect on sound and record safety. A worn stylus can create harsh treble, distortion, and excessive groove wear. Because stylus wear is not always visible without proper inspection, an unknown stylus should be treated cautiously, especially before playing prized albums.
The cartridge converts groove movement into an electrical signal. Vintage ceramic, crystal, and magnetic cartridges do not all operate the same way, and they are not interchangeable without considering the tonearm, amplifier input, tracking force, and intended use. Installing a modern cartridge may be appropriate in some cases, but it can also alter the sound, fit, or electrical compatibility of an original system.
Correct tracking force and alignment are equally important. Too much force can wear records and strain the stylus. Too little can cause mistracking, which is also damaging. A restored turntable should be set up for stable, clean playback rather than merely made to spin.
Common Problems That Should Not Be Ignored
Some warning signs call for service before another record is played. Speed that rises and falls is often a sign of drive, motor, or lubrication trouble. A platter that turns but produces no sound may point to a cartridge, wiring, or amplifier issue. Hum can come from grounding, shielding, aging electrical components, or nearby interference.
Automatic record changers can develop their own set of symptoms. The tonearm may return too early, fail to return at all, drop a record at the wrong time, or scrape across the surface during its cycle. These mechanisms are ingenious but complex. Forcing a stuck changer can break hardened plastic, bend linkages, or damage parts that are difficult to replace.
Physical damage also requires a measured response. A cracked dust cover, missing knob, damaged headshell, or broken tonearm rest may be repairable or replaceable, but the best option depends on rarity and historical value. A common player may benefit from a suitable donor part. A rare model may call for a more conservative repair that retains as much original material as possible.
What to Expect From a Careful Restoration
A professional restoration should begin with communication, not assumptions. The owner should have an opportunity to describe the turntable's history, known issues, and intended use. Is it a daily listener? A centerpiece in a restored console? A collector's piece that will be played occasionally? Those answers shape the work.
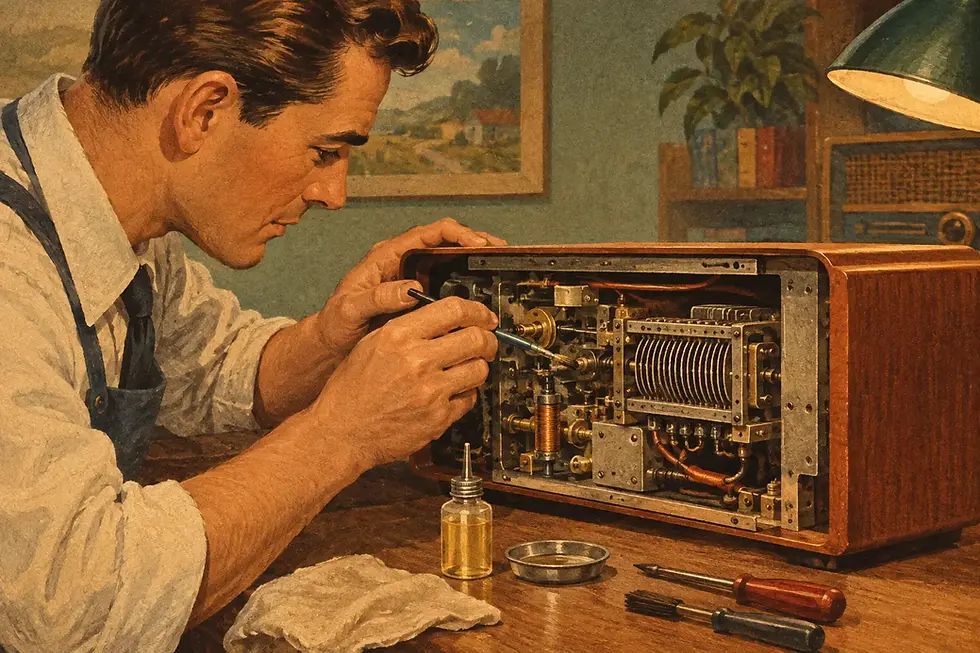
The service process generally includes cleaning old residue from moving parts, lubricating bearings and pivots with suitable materials, servicing the motor and drive system, addressing electrical faults, and evaluating the cartridge and stylus. After repairs, the unit should be tested for correct operation, speed, cueing, and sound quality. On automatic models, every stage of the cycle should be checked with care.
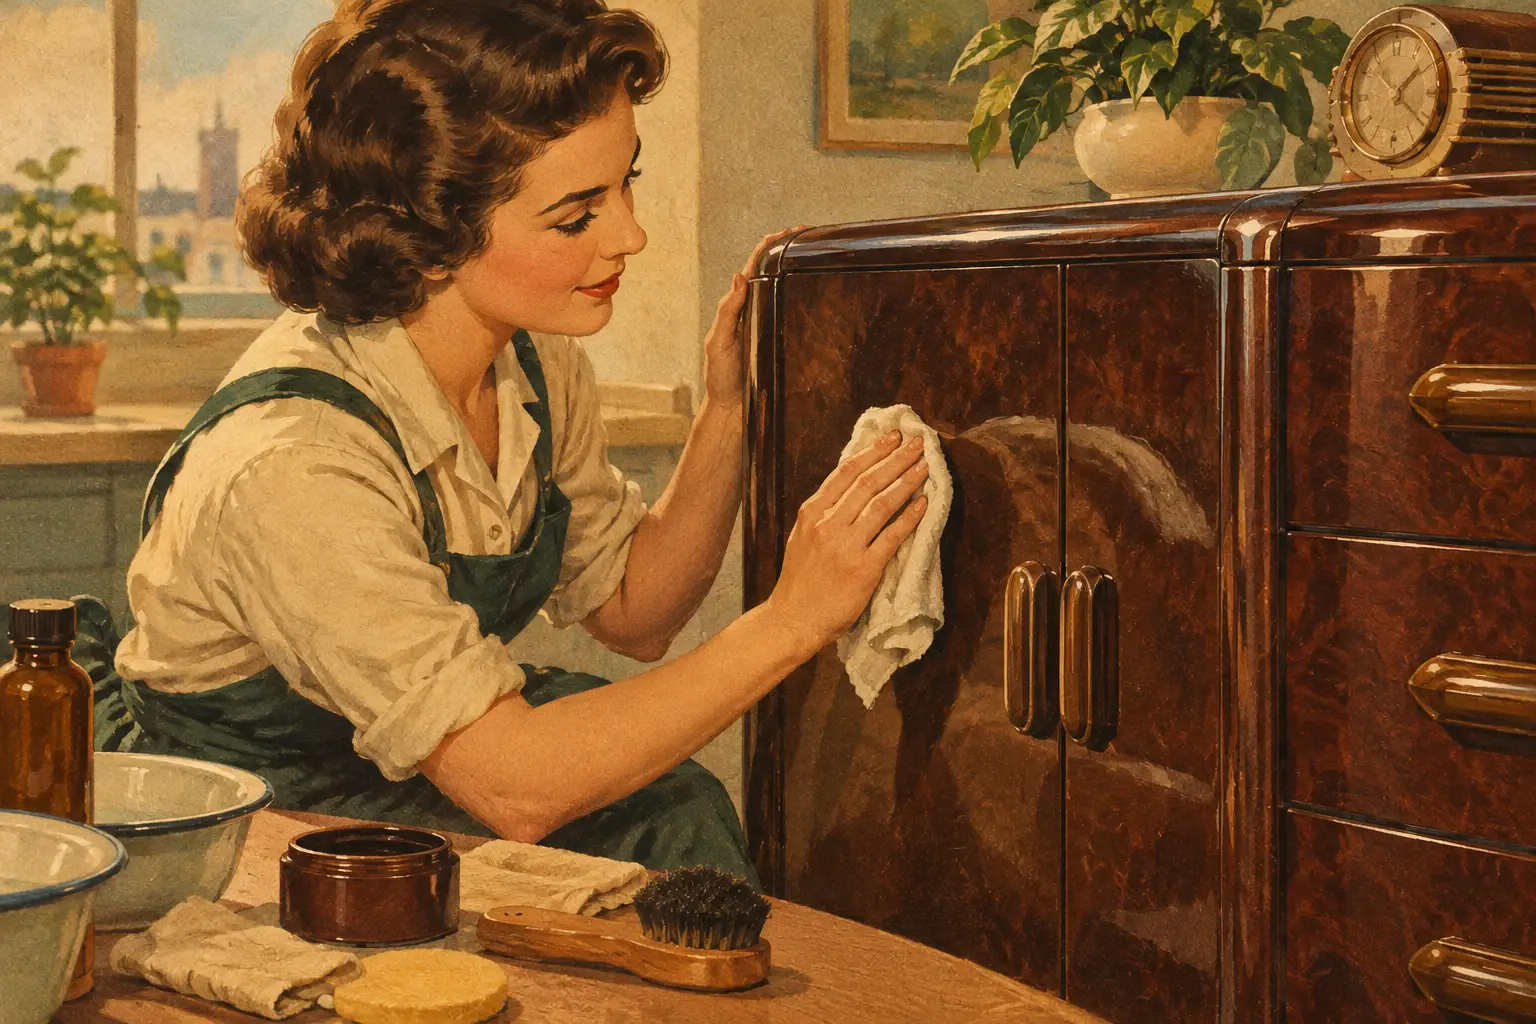
Cosmetic work is approached differently from mechanical work. Cleaning, polishing, and minor cabinet care can greatly improve presentation, but original finishes and decals should not be erased casually. The warm patina of a well-kept 1950s player is part of its appeal. Regal Sound Design approaches these decisions as a custodian of vintage sound equipment, not as a shop trying to make every piece look newly manufactured.
When DIY Is Sensible and When It Is Not
Owners can often help by keeping a turntable clean, using the correct records and accessories, and avoiding unnecessary force. A loose dust cover hinge or an obviously deteriorated belt may be simple enough for an experienced hobbyist to address. Keeping the unit away from heat, moisture, and unstable surfaces also makes a real difference.
However, internal adjustments should be approached carefully. Tonearm wiring is delicate, automatic mechanisms have precise relationships between parts, and tube-era console systems may contain hazardous voltages even after they have been unplugged. Solvents and household oils can also damage plastics, rubber, finishes, and old lubricants. If a mechanism is stuck, the safest first move is often to stop rather than push harder.
Before sending a turntable for service, remove loose records and secure any detachable parts according to the technician's instructions. Take clear photographs of the unit, note any unusual behavior, and include the make and model if known. That information helps establish a sound plan before work begins.
A vintage turntable deserves to be heard, not left silent because a small mechanical fault has grown intimidating. With patient service and preservation-minded care, the platter can turn steadily again, the needle can settle gently into the groove, and the music can return with the warmth that made the piece worth keeping in the first place.

Comments