


A Philco Radio Restoration Example, Step by Step

A Philco radio restoration example often begins with a familiar scene: a handsome tabletop set arrives silent, dusty, and carrying the faint scent of an attic or family living room. The dial may still glow, or it may show no sign of life at all. Either way, the goal is not simply to make an old radio play. It is to preserve a piece of American design while returning its circuitry to safe, dependable service.
Philco made an extraordinary range of radios through the tube era, from compact Bakelite table models to cathedral sets, tombstones, and grand floor consoles. That variety matters. A restoration that suits a 1940s wooden tabletop radio may not be right for an early battery set or a highly collectible Art Deco cabinet. This example follows the thoughtful restoration of a typical AC-powered Philco tube radio, with the same care applied to its appearance, electronics, and original character.
A Philco Radio Restoration Example Starts With Inspection
Before power is applied, the radio is examined closely. This is not caution for caution's sake. Components inside a decades-old radio can fail in ways that damage hard-to-replace parts, including the power transformer, field-coil speaker, or original dial assembly. Old wiring insulation may crack when moved. Paper and electrolytic capacitors can short internally after years of sitting idle.
The initial assessment looks at the cabinet, chassis, speaker, tubes, controls, dial cord, power cord, and underside of the chassis. Signs of prior repairs are documented as well. A radio that appears untouched can have a replacement speaker, an incorrect tube, or an improvised connection hidden beneath the chassis. None of these discoveries automatically reduce the radio's worth, but they shape the restoration plan.
The cabinet tells its own story. Small scratches, gentle fading, and worn spots around knobs may be honest evidence of decades of use. Deep water damage, loose veneer, missing grille cloth, or a flaking finish calls for more intervention. The right choice depends on the radio's condition and the owner's wishes. A family heirloom often deserves sympathetic conservation rather than a glossy, furniture-like refinish that erases its age.
Making the Chassis Safe Before Making It Play
A radio that hums or receives a station is not necessarily a safe radio. One of the most meaningful parts of restoration happens where it cannot be seen: under the chassis.
The old line cord is inspected first. Brittle rubber insulation, exposed conductors, or a plug that no longer grips properly are clear reasons for replacement. The radio is then brought up gradually with appropriate test equipment rather than plugged directly into household current. This controlled start can reveal shorts, excessive current draw, or a failing transformer before serious damage occurs.
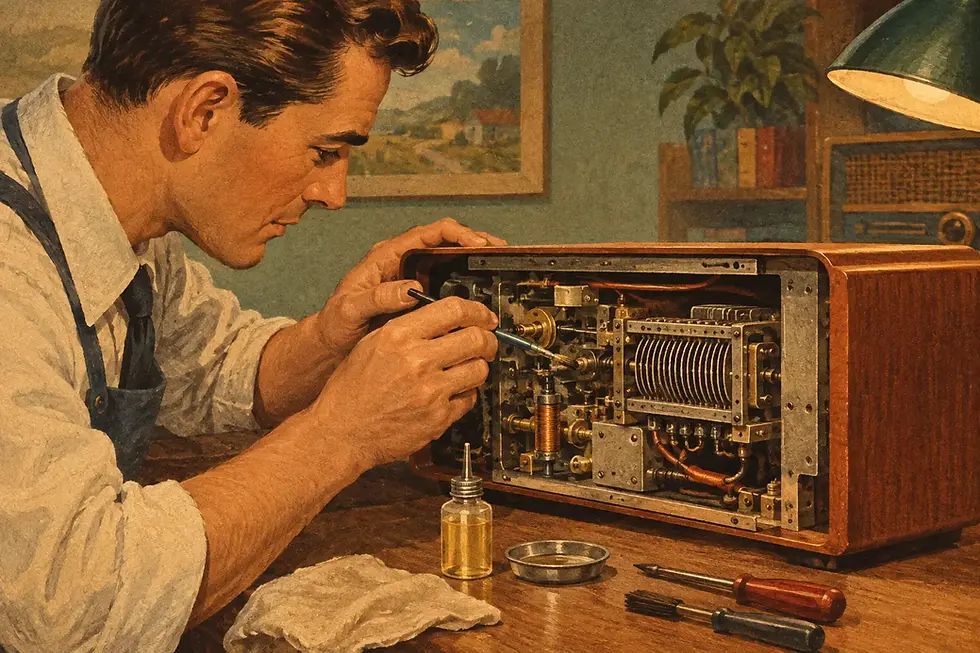
In a typical Philco restoration, aged electrolytic capacitors are replaced because they are responsible for filtering the radio's power supply. When they fail, the result can be persistent hum, overheating, or damage to other components. Paper capacitors are also commonly replaced. Their outward appearance may be charmingly original, but their electrical reliability after many decades is usually poor.
That does not mean every old part should be removed. Original resistors, coils, transformers, tube sockets, terminal strips, and other serviceable components are retained whenever practical. The purpose is not to make the chassis look newly manufactured. It is to restore sound performance and safety without discarding the radio's history.
Respecting Original Construction
Philco chassis layouts can be compact and sometimes challenging to service. Components may be tucked around bandswitches, tone controls, and the tuning condenser. Careless work can damage a fragile coil lead, melt nearby insulation, or leave wiring that does not follow the original routing.
Replacement components are installed neatly and conservatively. Leads are kept appropriately short, solder joints are secure, and wiring is dressed to avoid contact with moving dial parts or hot tubes. When a visible component must be replaced, there are occasions when an original shell can be retained for appearance while a modern component is safely housed within. Whether that is worthwhile depends on the radio and the level of historical authenticity desired.
Finding the Cause of Weak or Distorted Sound
Once the power supply is stable, attention turns to performance. A Philco radio may light up yet offer only a weak whisper, loud hum, crackling, or stations that drift across the dial. The cause is rarely one simple part.
Each tube is tested in context, because a tube can test reasonably well and still behave poorly in a particular circuit. Tube socket tension and oxidized contacts are checked. Controls are cleaned carefully when appropriate, especially volume controls and bandswitches that create static or intermittent reception. The speaker is examined for tears, rubbing voice coils, weakened wiring, and deterioration in its field coil or output transformer.
The alignment process brings the receiver back into proper tune. Over time, component values change and prior adjustments may have been made without the correct equipment. A proper alignment restores sensitivity and dial accuracy so stations appear where the dial says they should. This is particularly satisfying on a radio with a large illuminated dial, where the pointer once again travels smoothly across familiar call letters and broadcast bands.
Alignment is also where restraint matters. Not every radio needs every adjustment touched. If an RF or IF stage is already operating correctly, unnecessary adjustment can make matters worse. The best restoration work follows measured results, not the urge to turn every trimmer screw.
Preserving the Philco Cabinet and Its Presence
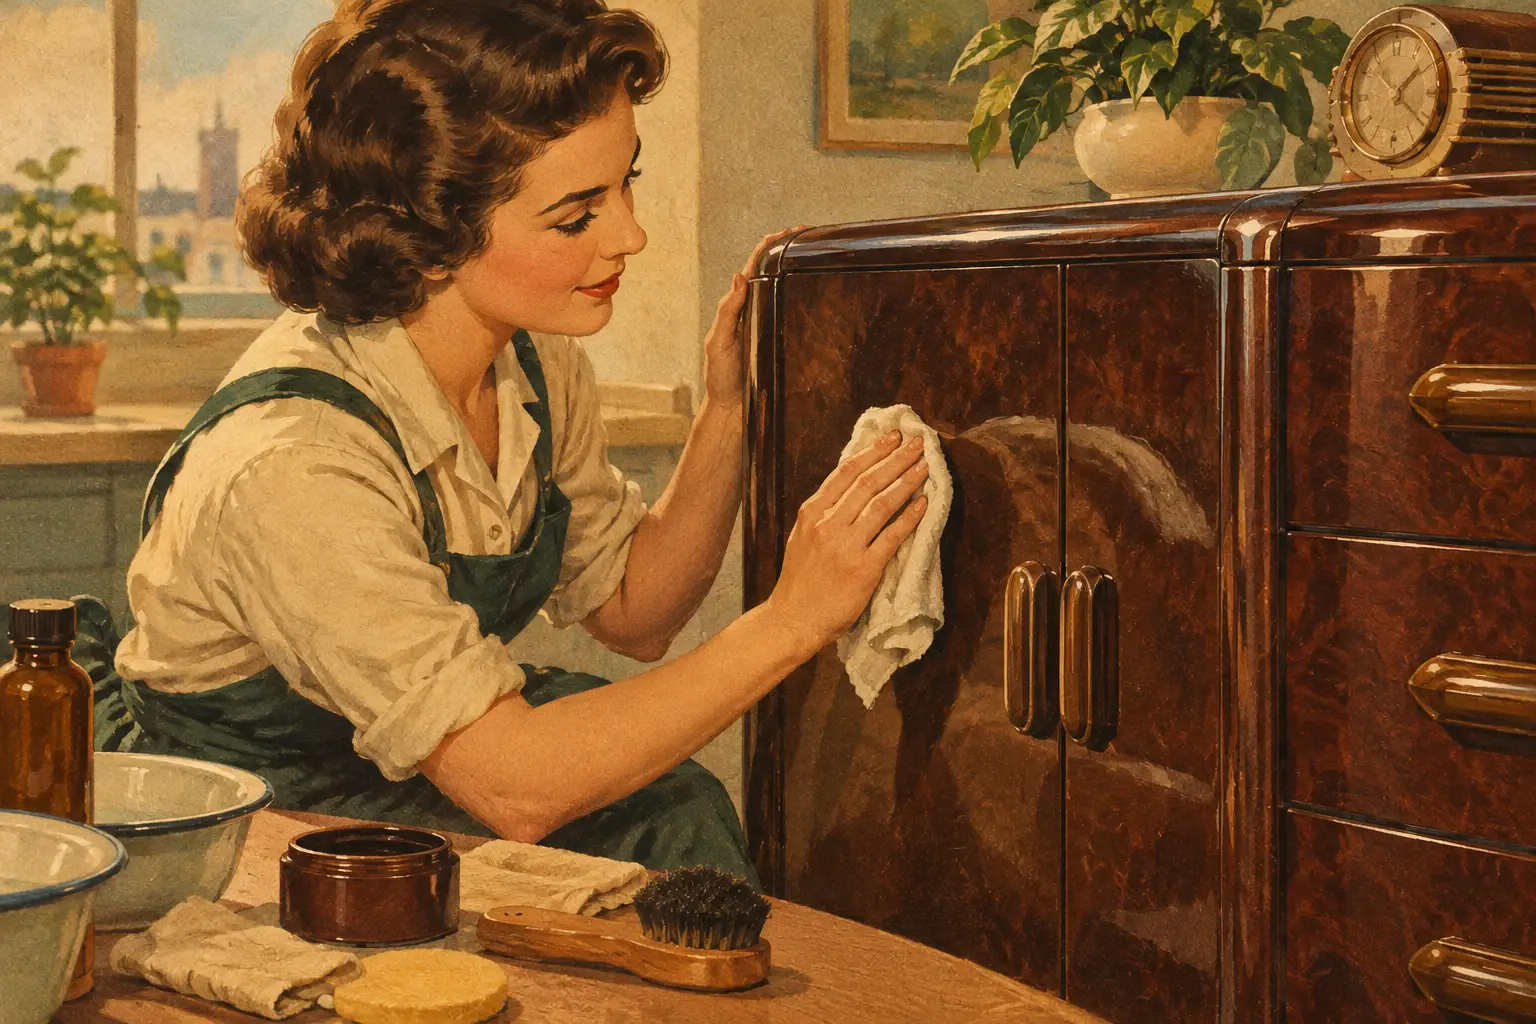
The cabinet is more than a box around the electronics. Philco designers used walnut veneers, shaped moldings, grille patterns, colorful dial scales, and distinctive knobs to give these radios their character. A well-restored chassis deserves a cabinet that has been cleaned and stabilized with equal care.
Dust and old residue can often be removed with gentle methods that do not strip the original finish. Loose veneer is reglued, minor chips can be toned to reduce distraction, and the cabinet is protected with a finish treatment suited to its materials. When the original finish is beyond saving, refinishing may be the responsible path, but it should respect the radio's period-correct color, sheen, and grain.
Dial escutcheons, pushbuttons, and knobs require special attention. Many are easily scratched by harsh cleaners, while some early plastic materials can craze or shrink with age. Grille cloth may be cleaned, repaired, or replaced when necessary. If replacement is chosen, a pattern with an appropriate period appearance helps the radio remain true to itself instead of looking vaguely modern.
The Moment a Restored Philco Speaks Again
After electrical repair, cabinet work, and alignment, the radio is operated long enough to confirm stable performance. It is checked for excessive heat, hum, distortion, intermittent controls, and tuning consistency. The chassis is secured properly in the cabinet, the dial is verified, and the radio is given a final careful cleaning.
The result is not a time machine. AM broadcast conditions have changed, and a restored radio will still reflect the limitations of its original design. Reception depends on location, local interference, antenna conditions, and the model itself. A five-tube table radio will not perform like a high-end console with a large speaker and more elaborate circuitry.
Yet when the warm dial light comes on and a clear voice or band music fills the room, the experience is unmistakable. The radio is no longer just an inherited object, a flea-market find, or an attractive cabinet waiting in storage. It is working history.
For owners considering a Philco restoration, the most useful first step is to resist the temptation to plug an untouched set into the wall. Preserve what can be preserved, replace what must be made safe, and let careful workmanship bring the sounds of yesterday back into the room.

Comments